- Create a Linear app in the developer portal.
- Add necessary details and save the app.
- Configure Autorply with the
Client IDandSigning Secretobtained from the Linear app. - Open Autorply UI, navigate to integrations, select Linear, and click connect.
- Voila! You should now be able to use Linear in your Autorply account.
Register and configure the Linear app
To use Linear Integration, you need to create a Linear app in the developer portal. You can find more details about creating Linear apps at the Linear developer portal.- Create a Linear app.
- Obtain the
Client IDandClient Secretfor the app and configure it in your app config via{Chatwoot installation url}/super_admin/app_config?config=linear - The callback URL should be
{Chatwoot installation url}/linear/callback. - Toggle the
Publicswitch to make the app public.
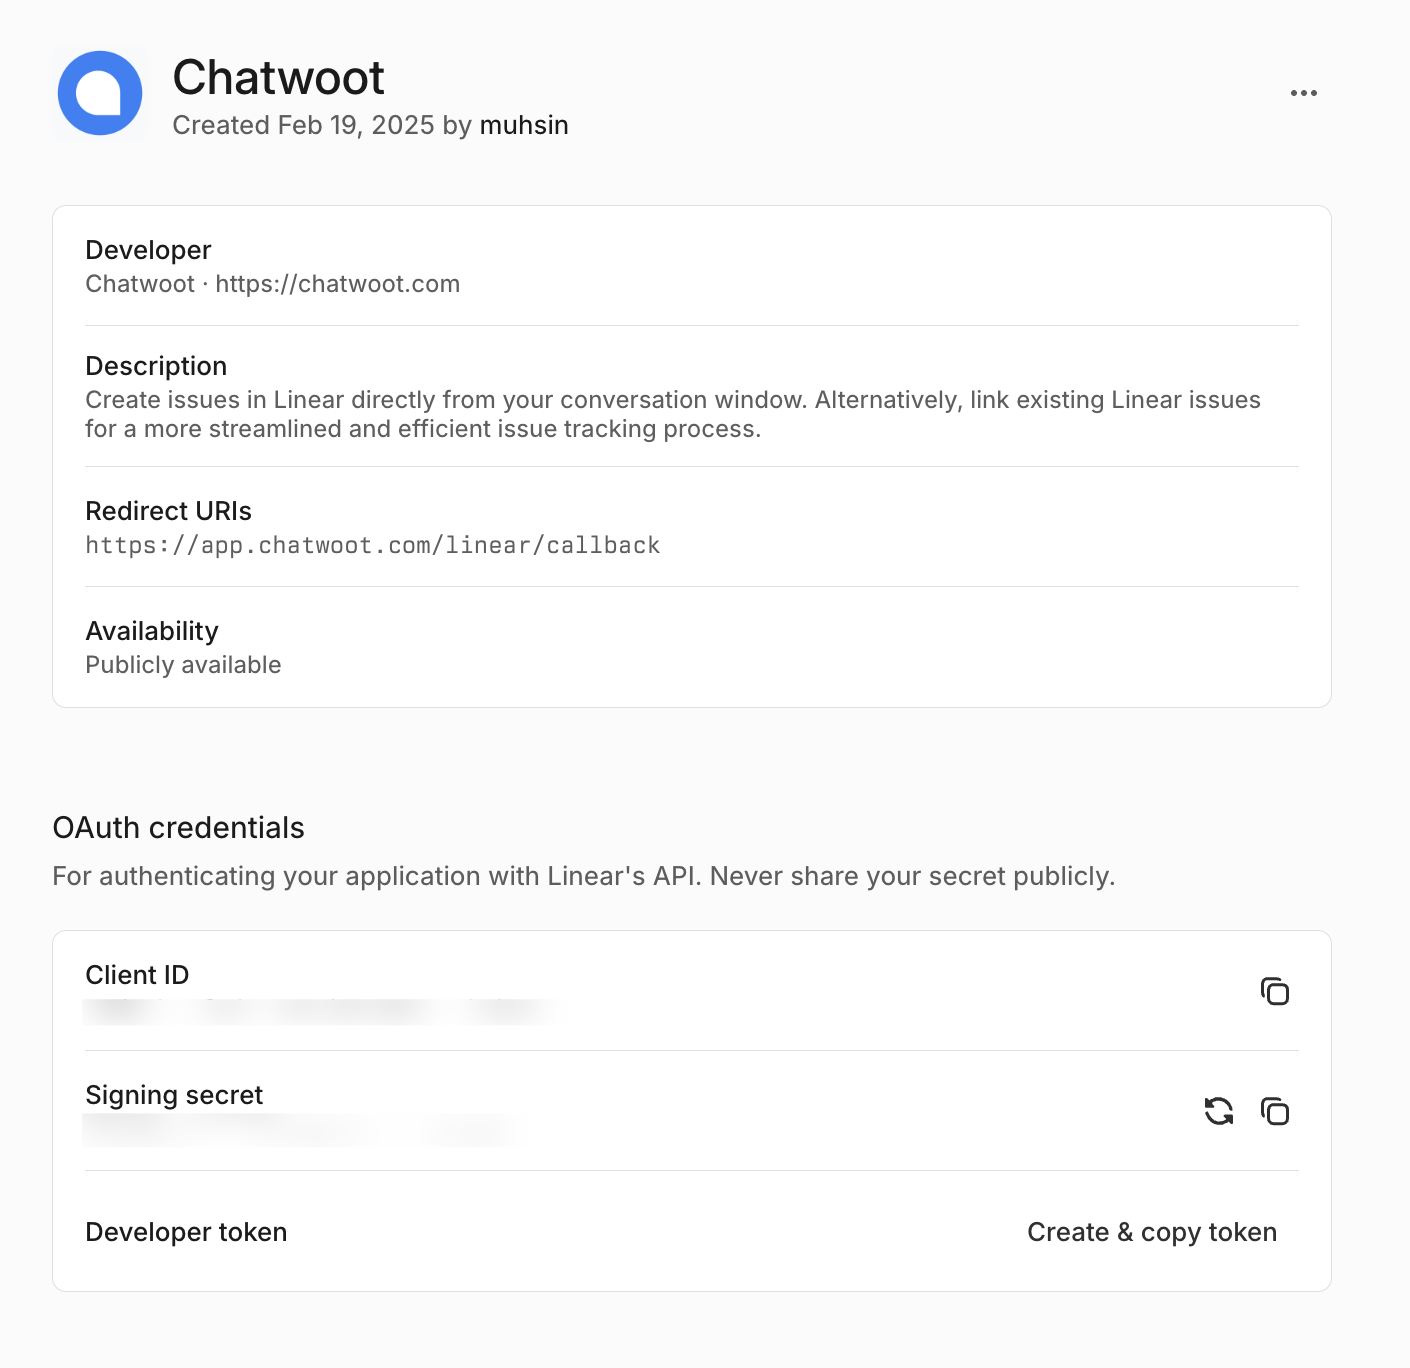
Configure Linear app config
Obtain theClient ID and Client Secret for the app and configure it in your app config via {Chatwoot installation url}/super_admin/app_config?config=linear. These values will be available when you create the app in the developer portal.
Linear will only show up in the integrations section once you have configured these values and restarted the server.