Register the app
For a more detailed guide on how to set up the Microsoft Identity platform, please refer to the here.
 There are three options for supported account types. Ideally, you only need to select “Accounts in any organizational directory” as Autorply is generally used for business emails only. However, if you are connecting a personal account, select the second option. If you are using the applications outside your organization, you would need to register your account as a verified publisher.
To configure a redirect URI with the Web platform, use the following URL:
There are three options for supported account types. Ideally, you only need to select “Accounts in any organizational directory” as Autorply is generally used for business emails only. However, if you are connecting a personal account, select the second option. If you are using the applications outside your organization, you would need to register your account as a verified publisher.
To configure a redirect URI with the Web platform, use the following URL: https://<your-instance-url>/microsoft/callback. Click on register, and your app will be created. You will see a screen as shown below.
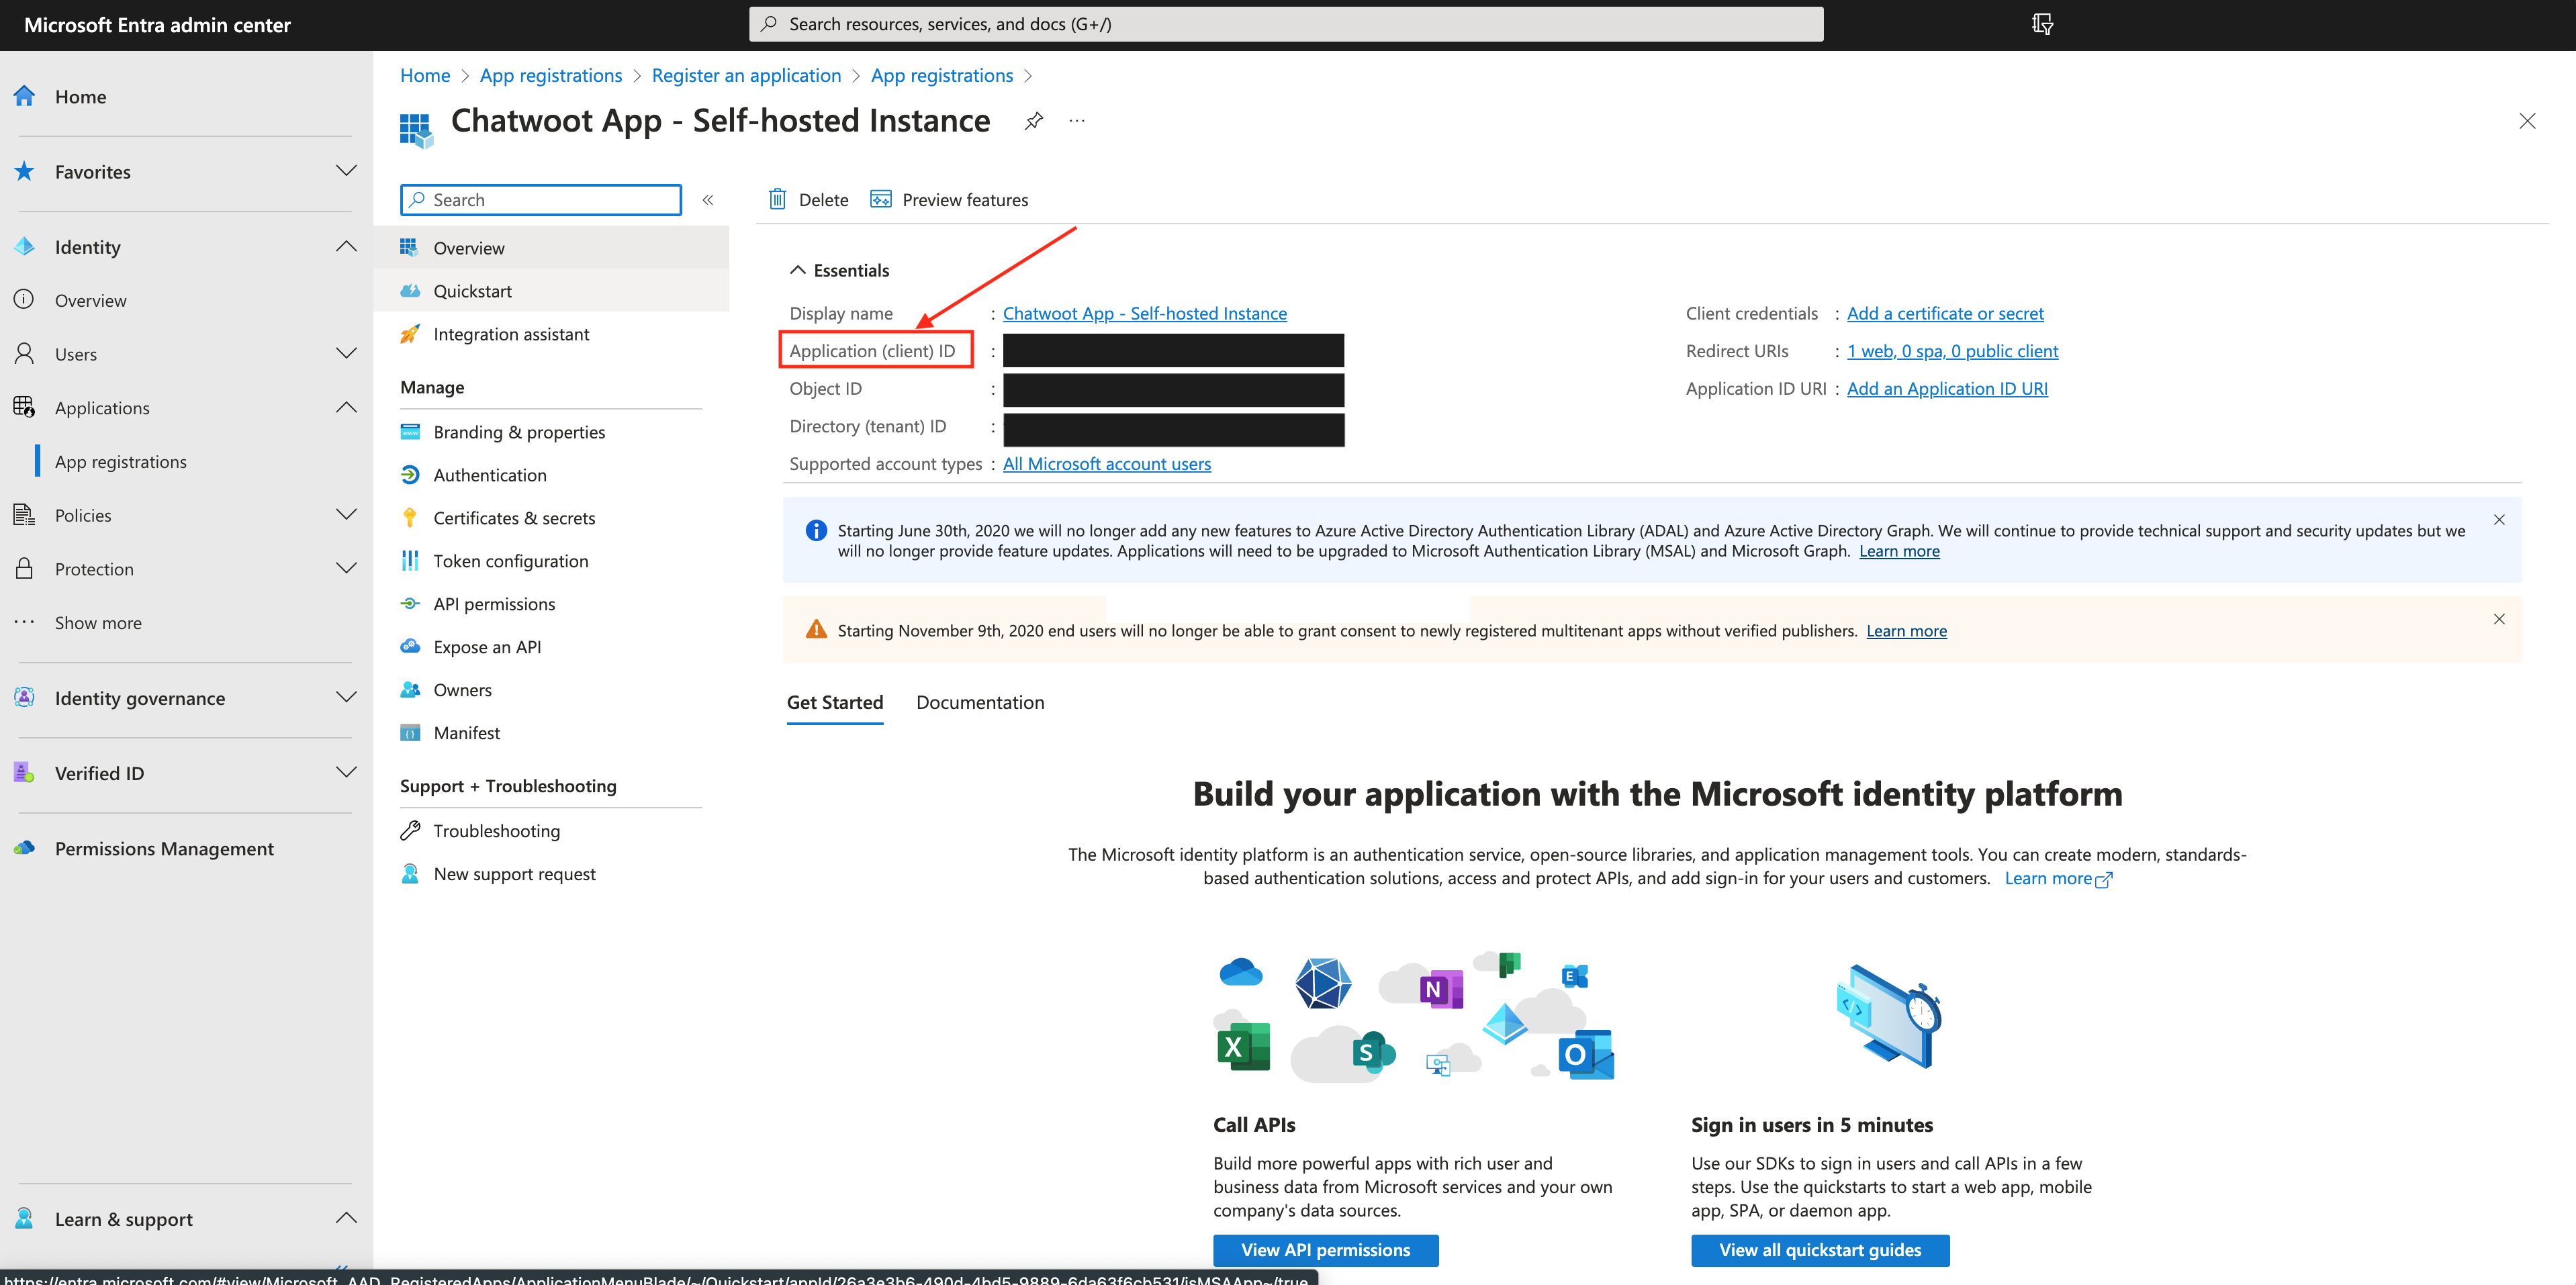 Save the Application (Client) ID. We will configure this as
 AZURE_APP_ID in Autorply later.
Configure the application
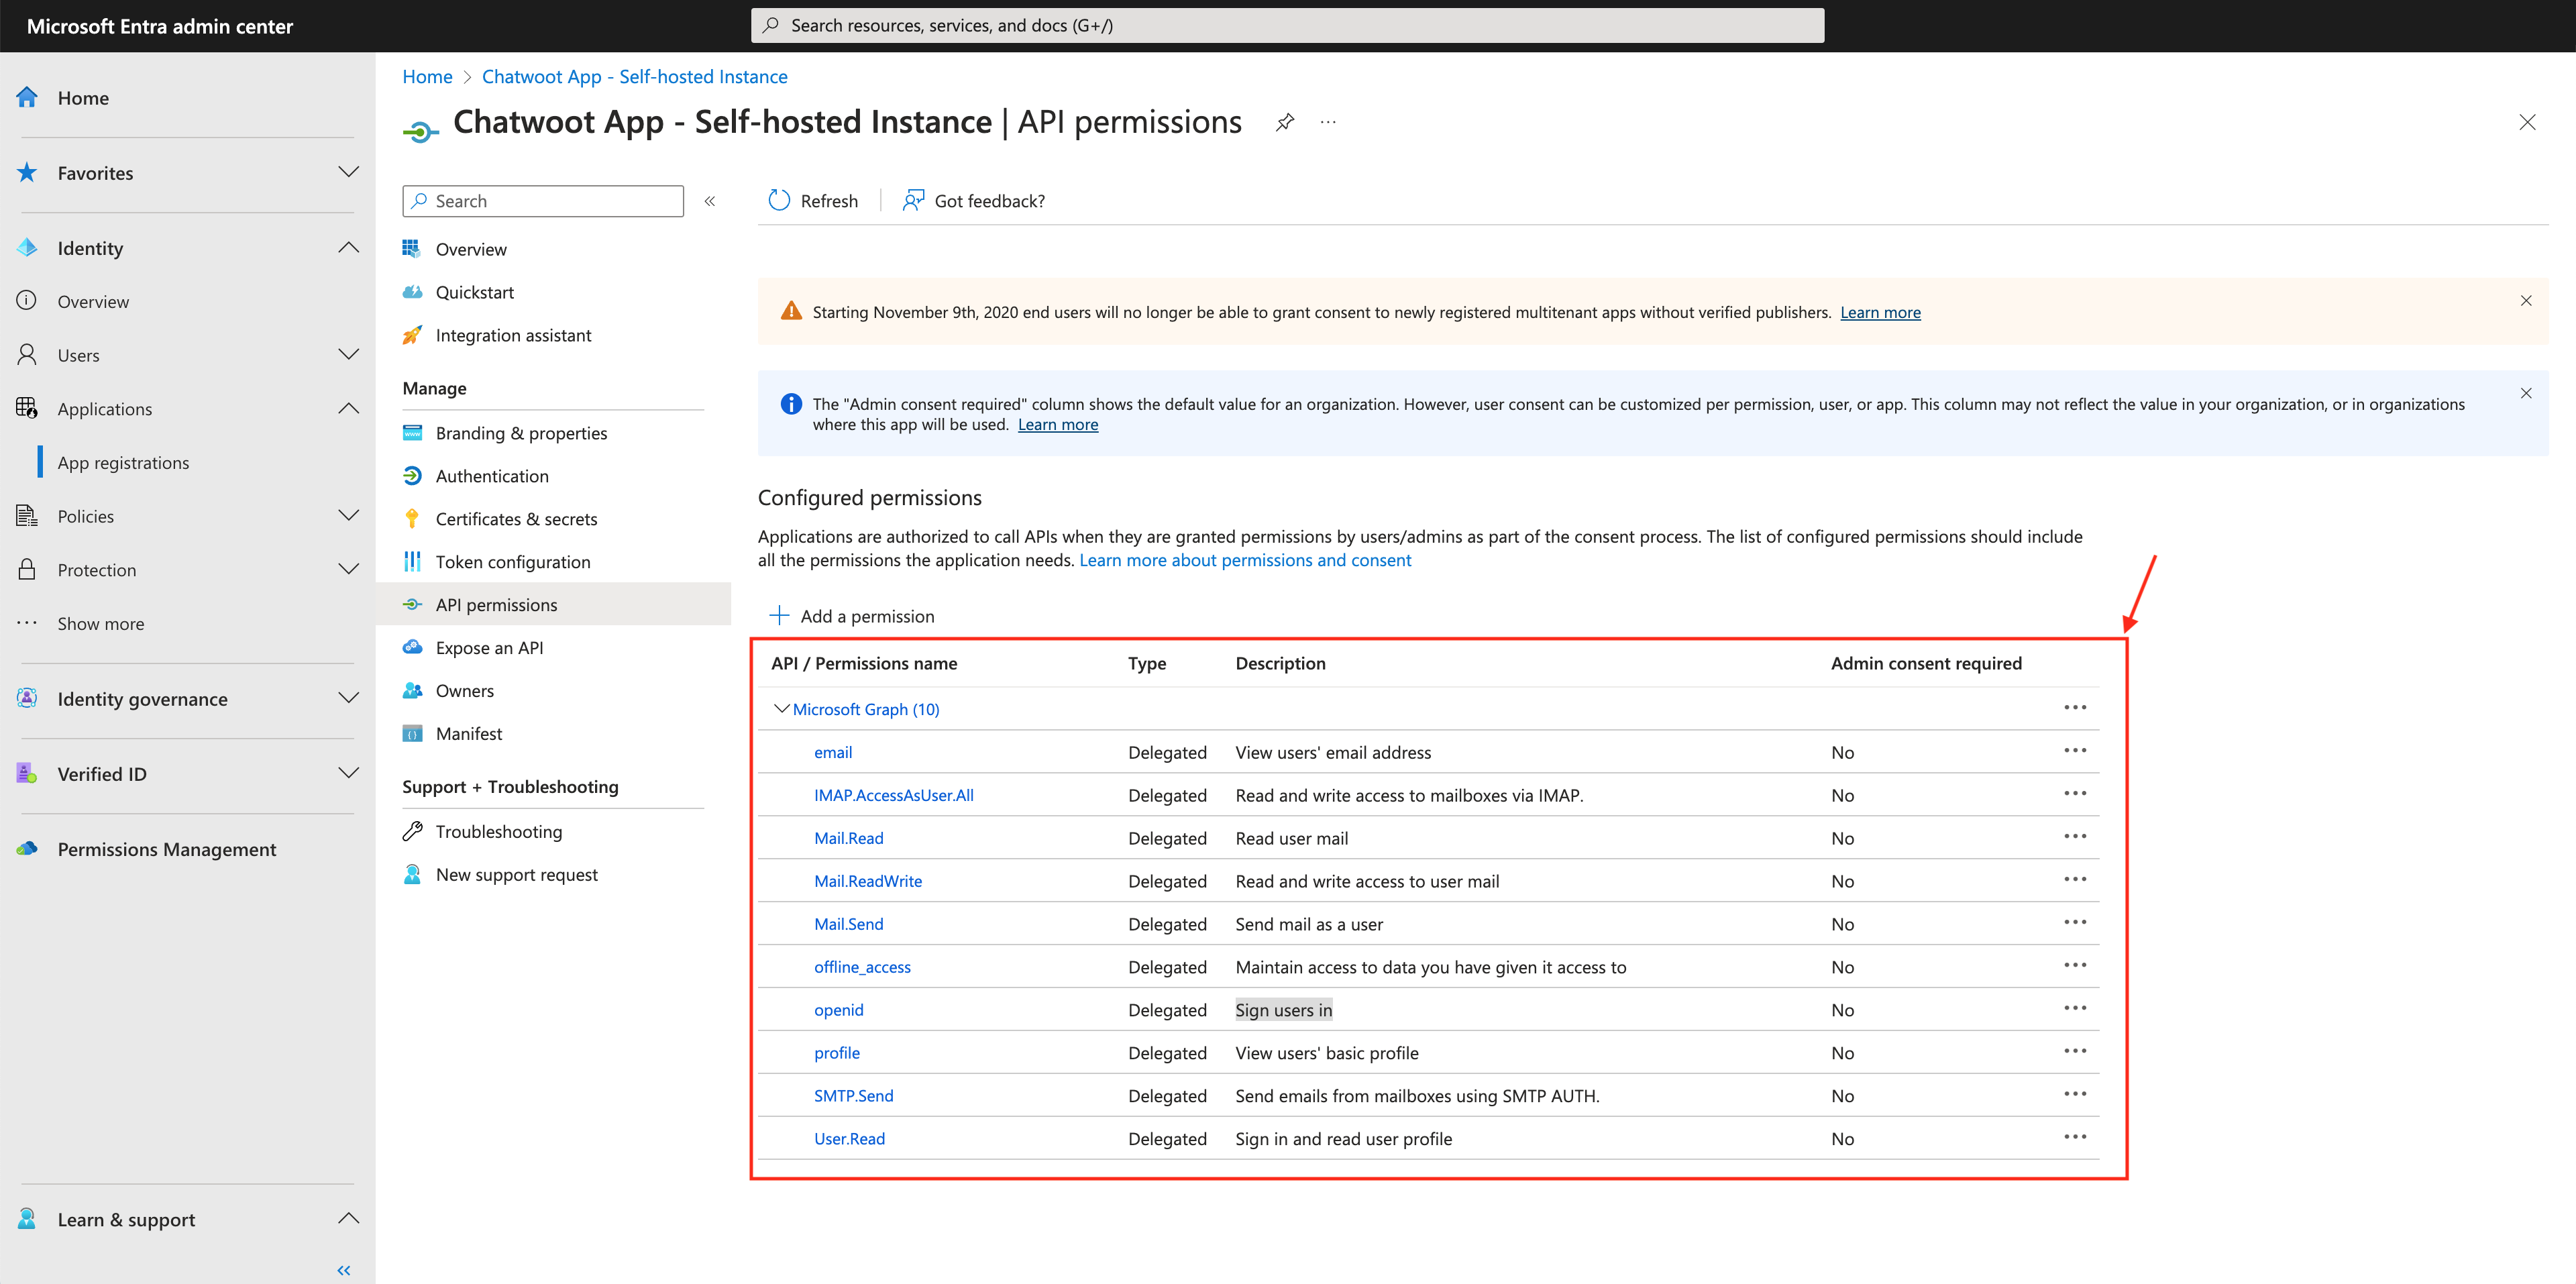
To ensure proper functionality of Autorply, we need to configure the permissions and update the token configuration as follows.API permissions
Click on the “API Permissions” menu under the “Manage” section. By default, this will have User.Read permission. Click on the “Add permissions” button and add the following permissions from the Delegated permissions menu on Microsoft Graph APIs.- email: To view the user’s email address.
- profile: To view the name and picture etc.
- offline_access: To retrieve the emails even when you are not using the application.
- SMTP.Send, Mail.Send: Send emails using the SMTP AUTH when you reply to customers from the Autorply dashboard.
- IMAP.AccessAsUser.All, Mail.ReadWrite: Read and write access to mailboxes via IMAP.
- openid: Sign users in
Token Configuration
Now, let’s proceed to the Token Configuration to set up “optional claims”. Optional claims are a feature in Entra ID that enables you to specify additional pieces of information (claims) to include in the security tokens issued to the application. In Autorply, we use optional claims to minimize duplicate calls and retrieve some information in advance. Click on “Add optional claim” and add the following claims to the application.
Configure Client Secret
Go to the Certificates & Secrets section to create a Client Secret. Click on the “New Client Secret” button and provide a description. You can also select an expiry time.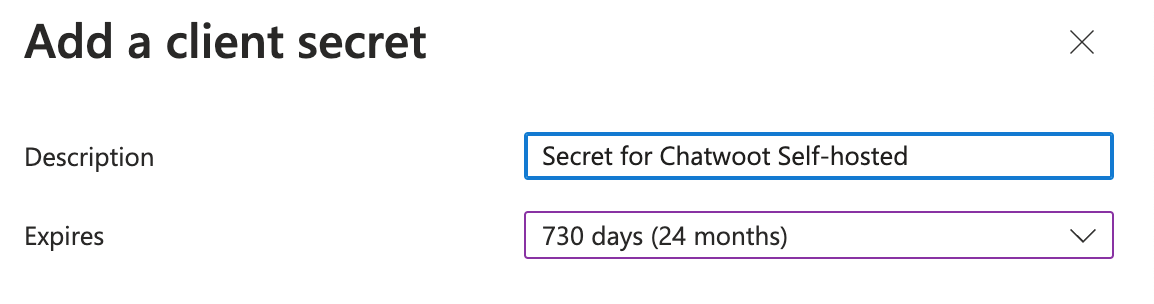 After clicking on the Add button, a client secret will be generated as shown below.
 Save the value somewhere save as you cannot see it after refreshing the page. This would be used
 AZURE_APP_SECRET in Autorply.
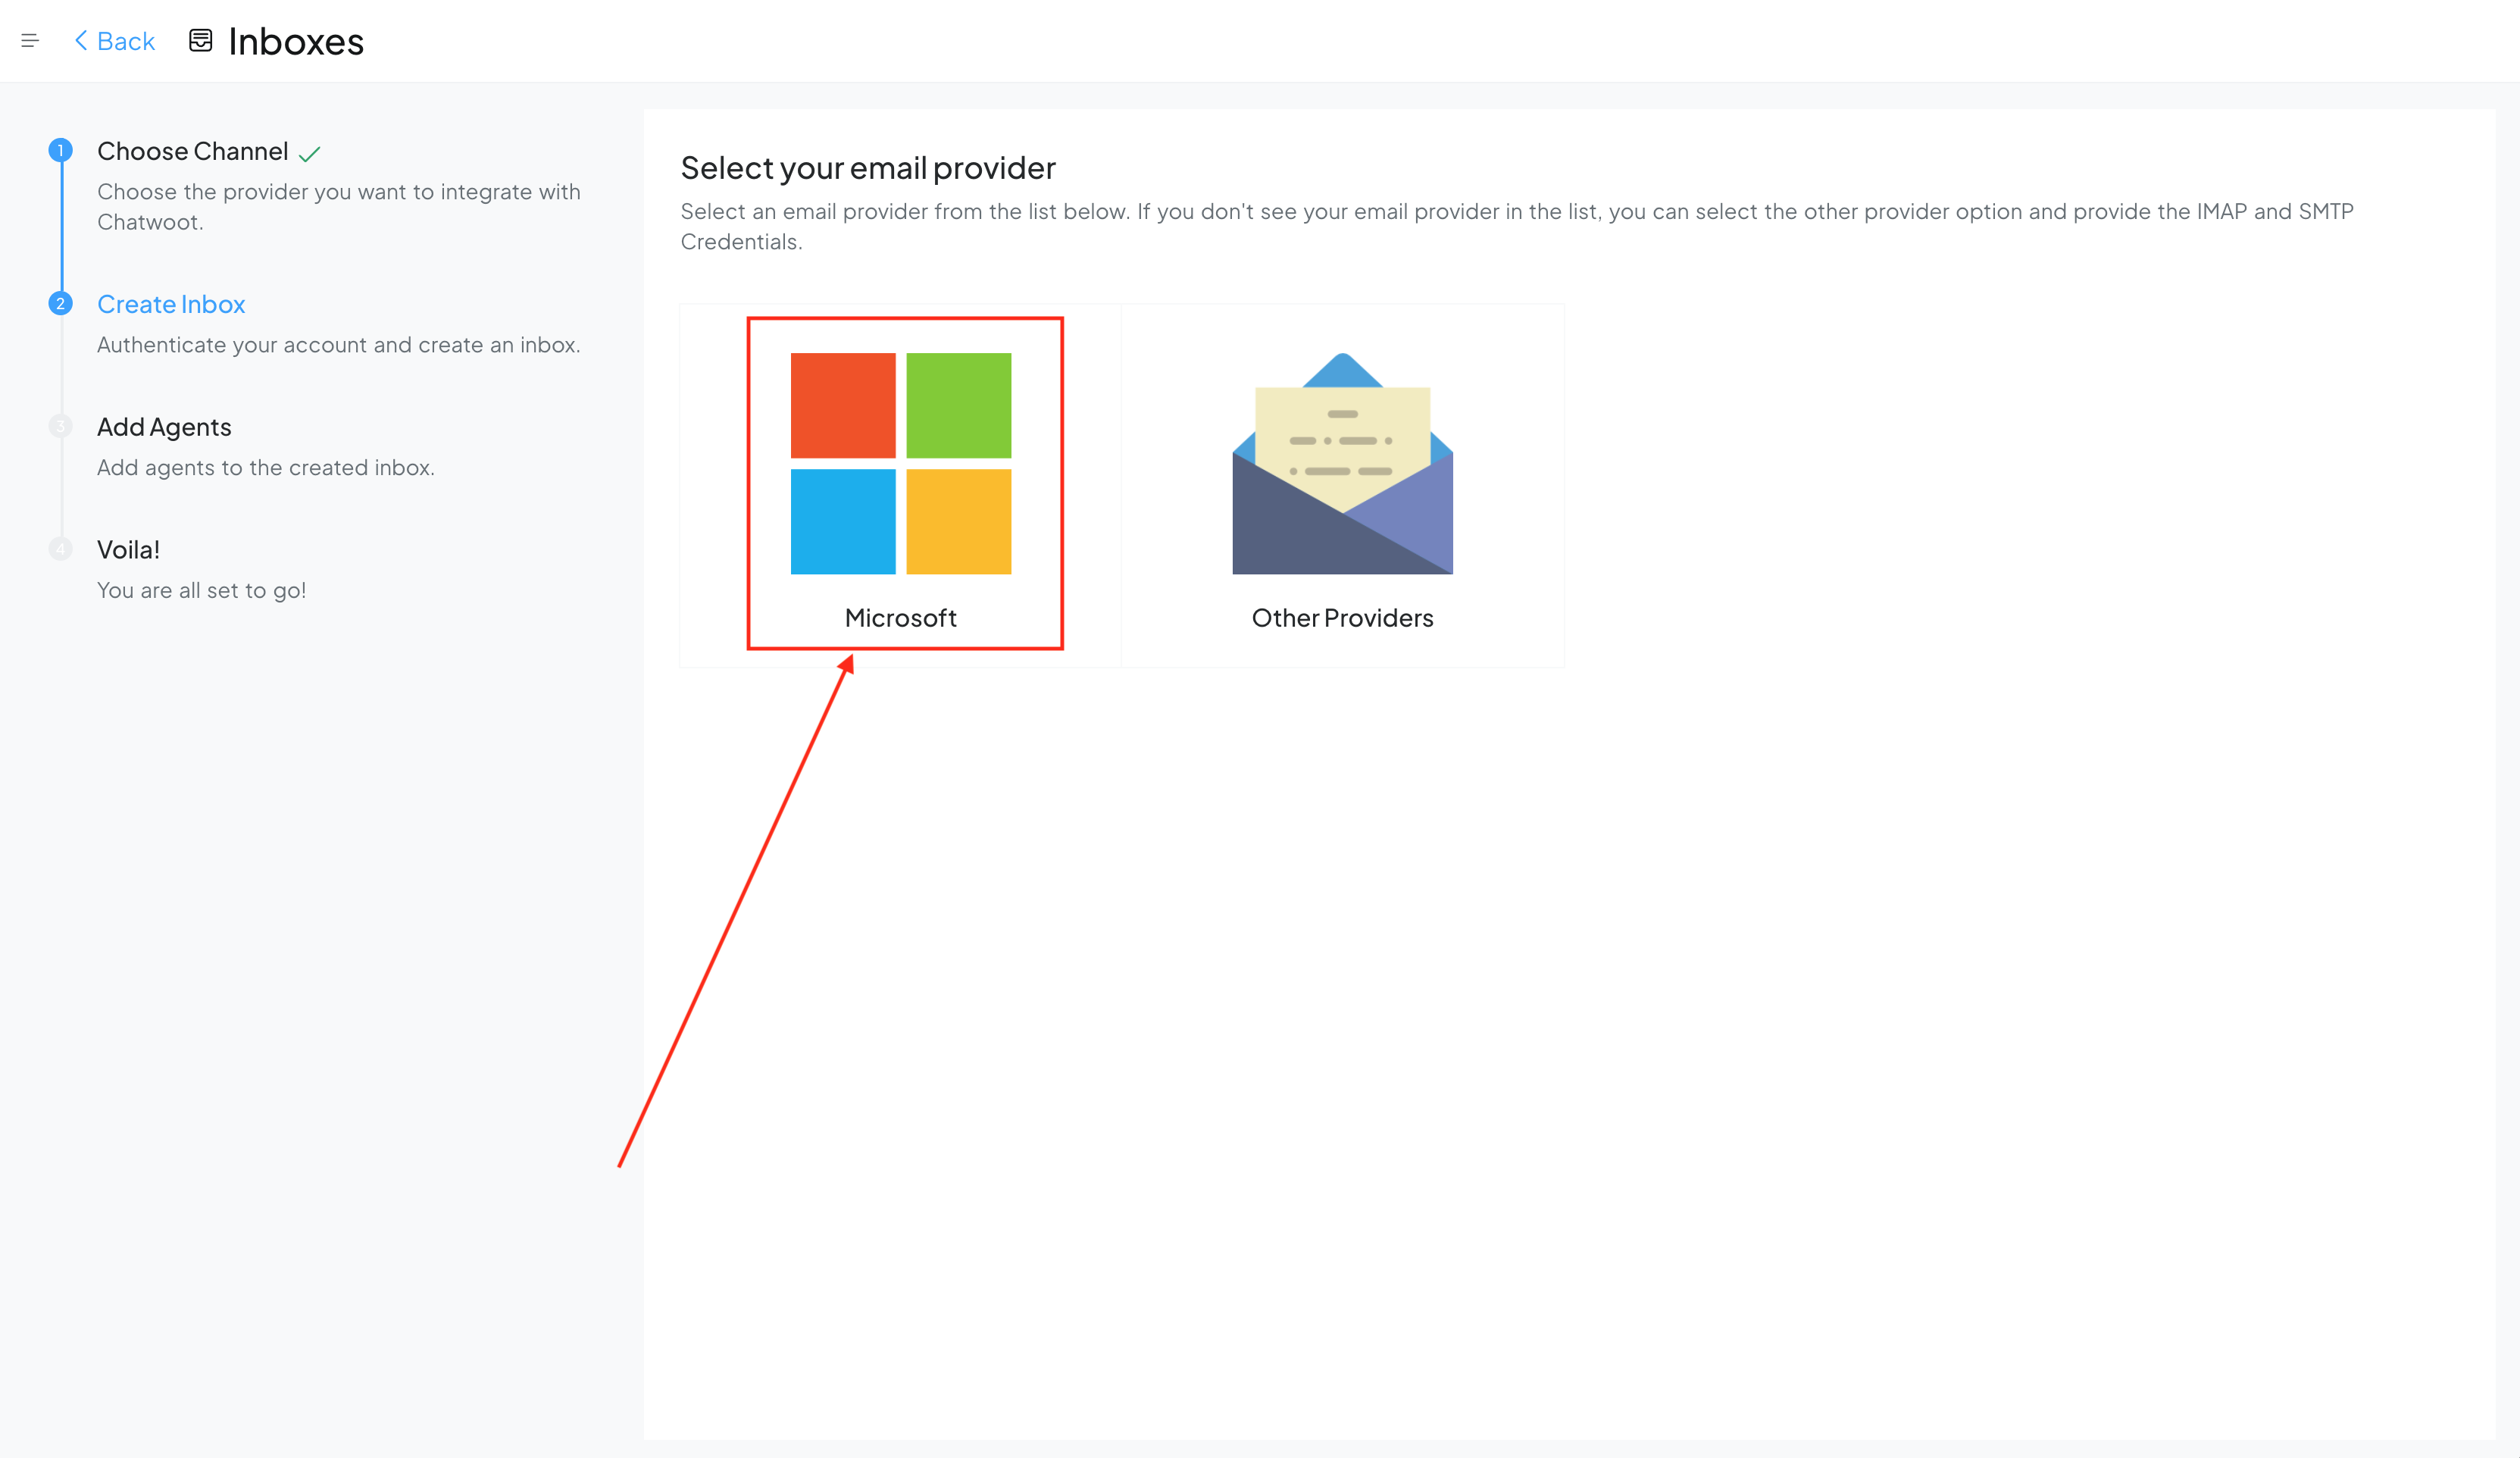
Configure environment variables in Autorply
After creating the Entra application, you need to configure the application credentials in Autorply. There are 2 variables that you need to configure, as shown in the steps above.- AZURE_APP_ID: As seen in the register the app step, use the Application (Client) ID here.
- AZURE_APP_SECRET: Use the value obtained in the step configuring the client secret.
 Voila! That’s it you can now receive the emails in your Autorply instance.